DIY Word Art

Spruce up your space this summer with DIY wooden letter art, great for crafters of all skill levels. You can create bright custom wall décor in a matter of hours with just a few supplies from pOpshelf.
First, choose a word that inspires you – one that will bring an extra dash of joy or meaning to your day. Next, brainstorm the colors you want to add to your space. Are you playing with a room’s current color scheme, or are you bringing brightness to a corner that needs some love? We chose a bold colorblock style with faux succulent accents for a vibrant summer feel, but there are so many ways to make this project your own.

What you’ll need to get started:
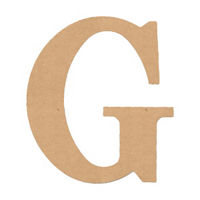
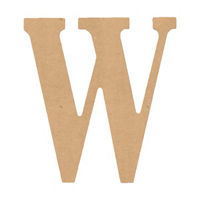
- Unpainted wooden letters that spell out your word of choice
- Faux succulents, or your decoration of choice
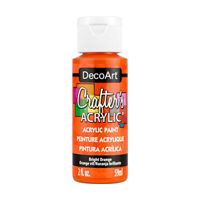
- Acrylic paints
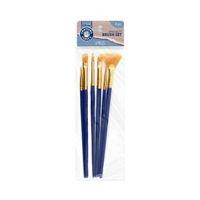
- Paint brushes
- Plastic palette
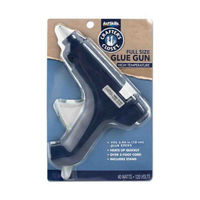
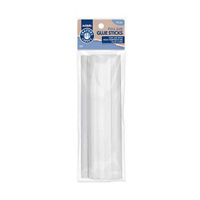
- Hot glue gun and sticks
- Masking tape
Arrange the letters in order on your workspace (double-check for spelling!) and add a piece of masking tape across the middle of each letter. Paint one half of each letter with the first tone you’ll use for that letter, using the tape as a stopping point. We chose to alternate our color combination on every letter, but your design is up to you.

After the paint has dried, remove the first piece of tape. Add a new piece of tape across the middle of the letter so that it just covers the area you’ve painted. With a clean brush, paint the other half of each letter with its second tone. Make sure you paint to the edge of the tape so that each color has a clean divide.

While you wait for the paint to dry, trim the succulents or prepare any other decorations you plan to use. After the paint dries, remove the tape and arrange the succulents. We recommend playing around with their placement to get it just right before you start gluing. Glue each succulent in place and marvel at your creation while you wait for it to dry. Then hang or display your lovely letters anywhere you please.

Total: $12.00